
Most owners teach “quiet” or “no bark” — commands that tell a dog what not to do. But the real game-changer for preventing bark escalation is the “leave it” command, taught as a proactive redirect that stops barking before it starts.
For additional support, see our guides on whether anti-bark collars work.
“Leave it” works because it gives your dog an alternative behavior to focus on — one that’s incompatible with barking. When your dog chooses to look at you instead of the trigger, they’re not barking. And every time they make that choice and get rewarded, the neural pathway for calm attention strengthens.
This isn’t just obedience training. It’s bark prevention at the neurological level.
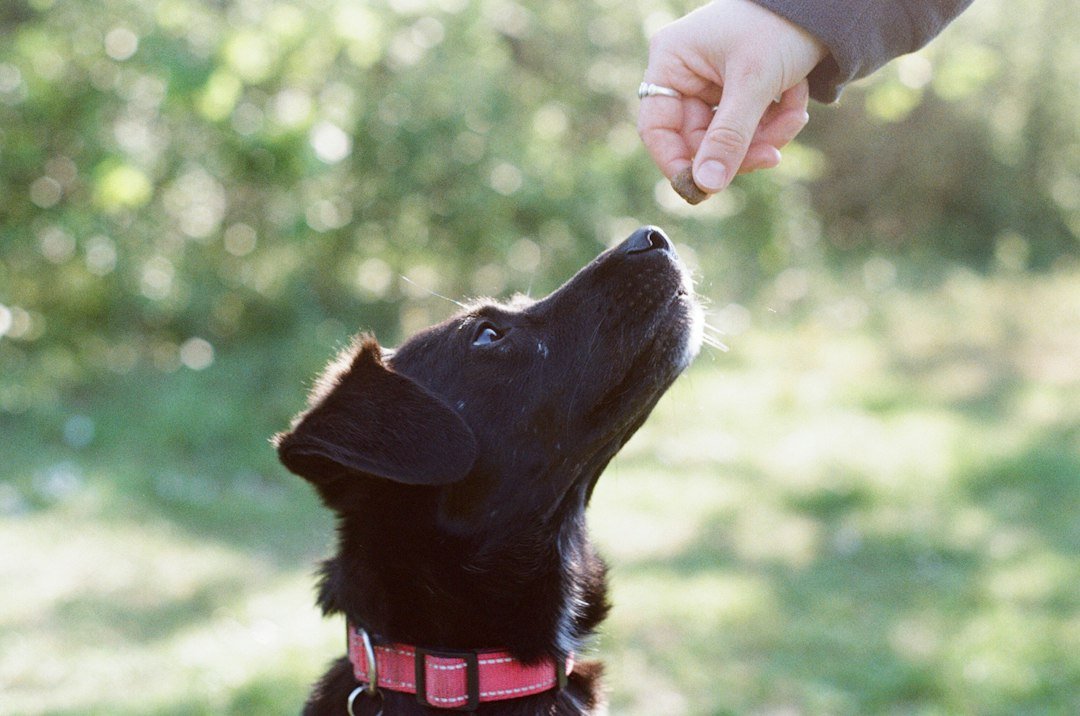
Why “leave it” works better than “quiet”
The fundamental difference:
| Command | Teaches | When to Use | Problem |
|---|---|---|---|
| “Quiet” | Stop barking after it starts | During barking | Reinforces the bark-then-stop cycle, dogs often repeat |
| “Leave it” | Ignore the trigger, focus elsewhere | Before barking | Requires early recognition of pre-bark signs |
Our quiet command guide covers stopping barking in progress. But “leave it” prevents it from happening at all — which is less stressful for both you and your dog. The trick is catching your dog at Stage 1 or 2 of the stress ladder. Read our stress signals guide to learn the early warning signs.
Step 1: Teach “leave it” inside (foundation)
Start with food — it’s the easiest motivator to control.
- Place a treat in your closed fist. Let your dog sniff, lick, and paw at it. Say “leave it” calmly.
- The moment your dog stops trying and looks at you (even briefly) — mark with a “yes!” and give a different, better treat from your other hand.
- Release: Say “ok” or “get it” and let them have the original treat.
Key principles: Never give the dog the thing they’re told to leave. Always reward with something ELSE. The reward should be higher value than the forbidden item. Start with easy items and gradually increase the challenge.
Step 2: “Leave it” with doors and doorbells
Now apply the skill to bark triggers. The doorbell is the classic trigger.
Set up: Have a family member ring the doorbell. Your dog looks toward the sound (pre-bark stage). Immediately say “leave it” and guide them to their mat or a hand target. Reward 3-5 treats for focusing on you instead of the door.
Progression: Start with the doorbell at 10% intensity (ask them to knock lightly from another room). Once your dog reliably leaves it and looks at you, the person moves closer. Reward calm, focused attention on you, not tension or staring at the door.
This pairs directly with our door barking guide, which covers the full house-training-style protocol for doorbell barking. The “leave it” command becomes the proaThe “leave it” command becomes the proactive tool; the quiet command handles it if barking starts, and our guide on best anti-bark devices covers backup options if barking starts anyway.
Step 3: “Leave it” with distance triggers (walks)
For triggers you can’t control — other dogs, joggers, bikes — use “leave it” to preempt barking on walks.
Positioning: When you spot a trigger 30+ feet away, immediately lure your dog into a heel position. Say “leave it” and reward continuous eye contact as you’re walking. The key is starting before your dog enters their reaction threshold.
Progression: Start with low-arousal triggers (a sedentary dog in a yard) and work up to high-arousal ones (a barking dog). If your dog reacts, you started too close — increase distance next time and reward from farther out. Our reactive dog guide covers this distance-based approach in detail.
The 3-2-1 formula for bark prevention
Use this sequence whenever your dog shows pre-bark stress signals:
- 3 deep breaths. You and your dog. Yes, humans need to stay calm too — dogs read our energy. Take 3 breaths before responding.
- 2-second redirect. Say “leave it” and immediately guide your dog to look at you or touch your hand. Hold for 2 seconds of focused attention.
- 1 jackpot reward. Give a high-value treat (or toy) in a continuous stream while the trigger passes. One big reward, not several small ones — this makes the moment memorable.
This formula works because it interrupts the escalation cycle of the stress ladder. When you catch your dog at Stage 1 (calming signals), “leave it” + reward moves them back to baseline before tension builds (Stage 3).
Troubleshooting common “leave it” problems
Problem: “Leave it” doesn’t work outside.
Solution: The world is full of more interesting things than your treat. For persistent barking, consider our review of best bark collars things than your treat. Use higher-value rewards (chicken, cheese, hot dog) and start at greater distance. The command must be rock-solid inside before testing outside. Practice in your fenced yard first — not at the park with squirrels everywhere.
Problem: Dog obeys “leave it” then immediately barks after the reward stops.
Solution: Your reward duration was too short. During the trigger, keep rewarding for 10-15 seconds, not just 2-3. The goal is to keep your dog’s attention on you longer than the trigger lasts. Practice extending the reward window.
Problem: Dog knows “leave it” for food but not for barking triggers.
Solution: This means the behavior isn’t fully generalized. Practice with visual triggers inside first (a friend walking by a window, another dog visible through glass), then progress to real outdoor triggers. Always start easier than you think you need to.
Read our guide to identifying bark types to match the right intervention to each bark scenario.
Frequently asked questions about “leave it” and bark prevention
Can every dog learn “leave it”?
Yes — but the timeline and difficulty varies. Puppies learn fastest (2-4 days for the foundation), while adult dogs with established bad habits may take 2-3 weeks. Dogs with a history of punishment-based training (where “leave it” was used as a correction) may need extra patience — they associate the command with negative feelings and need to relearn it as a positive redirect. Rescue dogs and dogs from high-stress backgrounds may also take longer. The key is starting with easy items and never using the command in a corrective tone. If progress is slow, lower the difficulty and go back to basics rather than pushing forward too fast.
How long should “leave it” be held before releasing?
Hold for at least as long as the trigger lasts — this is what most owners miss. A 2-second hold might feel natural, but if the doorbell rings for 5 seconds and you release after 2, your dog learns “leave it for 2 seconds then I can react”. Instead, keep rewarding for the entire duration of the trigger. Start practicing with short triggers (a quick knock = 2 seconds) and gradually extend to longer ones (multiple doorbell rings = 10+ seconds). Build the reward duration up slowly. Once your dog can maintain focus for the full trigger length at close range, generalize to walks and distance.
Should I use a clicker for “leave it” training?
A clicker can help if you’re already familiar with clicker training, but it’s not necessary. The word “yes” or a clear marker sound works just as well. The critical element is marking the exact moment your dog chooses to look at you instead of the trigger — that’s the behavior you’re reinforcing. If you already use a clicker for other behaviors, incorporating it into “leave it” training creates consistency. If you’re new to clicker training, skip it and use a verbal marker — don’t learn two new skills at once. Our quiet command guide covers marker training from scratch.